Starting a small herb garden indoors is a wonderful way to add fresh flavors to your meals, brighten up your living space, and nurture a rewarding hobby. Whether you have a spacious kitchen or just a sunny windowsill, growing herbs indoors is accessible to everyone. This guide will walk you through everything you need to know to begin your own indoor herb garden with confidence.
Why Grow Herbs Indoors?
Growing herbs indoors comes with many benefits:
– Freshness: Snip fresh herbs whenever you want, directly from your own garden.
– Convenience: No need to make special trips to the store.
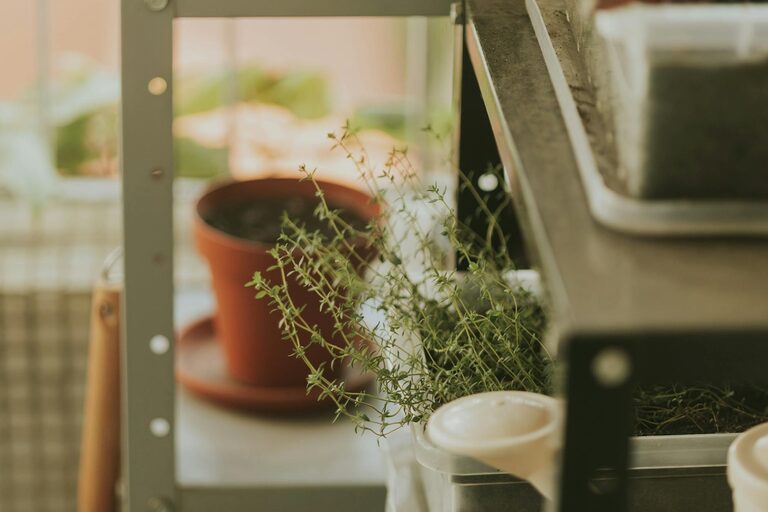
– Aesthetic appeal: Herbs add greenery and life to interior spaces.
– Year-round growth: Unlike outdoor gardens, indoor herbs can thrive even during winter.
Choosing the Right Herbs for Indoors
Some herbs are better suited to indoor conditions than others. When selecting herbs for your indoor garden, consider:
– Light needs
– Space availability
– Ease of care
Here are some popular, beginner-friendly indoor herbs:
– Basil: Loves warmth and bright light.
– Mint: Grows well in moderate light; can spread quickly.
– Thyme: Thrives in sunny spots; requires well-drained soil.
– Parsley: Prefers indirect light and regular watering.
– Chives: Adaptable and easy to grow on windowsills.
– Cilantro: Needs cooler temperatures and bright light.
Supplies You’ll Need
Before you start planting, gather the essential supplies:
- **Containers**: Choose pots with drainage holes to prevent waterlogging. Small pots (4-6 inches) are perfect for herbs.
- **Potting soil**: Use a light, well-draining potting mix designed for indoor plants.
- **Seeds or starter plants**: Beginners might find it easier to start with young plants.
- **Labels**: To keep track of different herbs.
- **Watering can or spray bottle**: Helps maintain consistent moisture.
- **Grow lights (optional)**: If natural light is limited, supplemental lighting can help.
Step-by-Step Guide to Starting Your Indoor Herb Garden
Step 1: Select a Location
Find a spot that gets at least 4-6 hours of sunlight daily. South-facing windows are ideal. If natural light is scarce, consider using a grow light placed 6-12 inches above the herbs for about 12-16 hours per day.
Step 2: Prepare Your Pots
Fill each pot with potting soil, leaving about half an inch below the rim to make watering easier and to prevent soil from spilling out.
Step 3: Plant Seeds or Transplants
– Seeds: Follow the seed packet’s instructions for planting depth and spacing. Lightly water the soil after planting.
– Starter plants: Gently remove plants from nursery pots, then plant them in your chosen containers, firming the soil around the roots.
Step 4: Watering
Water your herbs gently. The soil should be moist but not soggy. Overwatering can cause root rot, so allow the top inch of soil to dry out between waterings.
Step 5: Maintain Proper Humidity and Temperature
Herbs prefer temperatures between 65-75°F (18-24°C). If the air is dry, especially in winter, mist the leaves occasionally or place a humidity tray nearby to maintain moisture levels.
Step 6: Fertilize Occasionally
Feed your herbs with a balanced, water-soluble fertilizer every 4-6 weeks during the growing season. Avoid over-fertilizing, as this can lead to excessive leaf growth with less flavor.
Step 7: Pruning and Harvesting
Regularly pinch or trim your herbs to encourage bushier growth. When harvesting, snip the herbs just above a leaf node, which promotes new shoots. Avoid taking more than one-third of the plant at a time.
Tips for Success
– Rotate pots weekly: This ensures all sides of the plants get equal sunlight.
– Watch for pests: Indoor herbs can occasionally attract spider mites or aphids; wipe leaves with a damp cloth if needed.
– Use clean soil and tools: Prevent diseases by maintaining cleanliness.
– Be patient: Seeds might take a few weeks to sprout, so keep the soil moist and don’t give up!
Troubleshooting Common Issues
– Yellow leaves: Often caused by overwatering, poor drainage, or lack of nutrients.
– Leggy plants: Insufficient light leads herbs to grow tall and weak. Supplement with grow lights if necessary.
– Wilting: Can indicate under or overwatering; check soil moisture.
– Slow growth: May need more light, fertilizer, or optimal temperature.
Enjoying Your Indoor Herb Garden
Once your herbs are thriving, the possibilities are endless. Fresh basil for salads, thyme in soups, or mint in teas—your homegrown herbs can elevate many dishes. Plus, caring for plants provides a relaxing and rewarding experience.
Final Thoughts
Starting a small herb garden indoors is a fun and straightforward project that brings fresh flavor and beauty to your home. By choosing the right herbs, providing proper light and care, and enjoying the growth process, you will soon reap the benefits of your green thumb—no matter your experience level.
Happy gardening!